
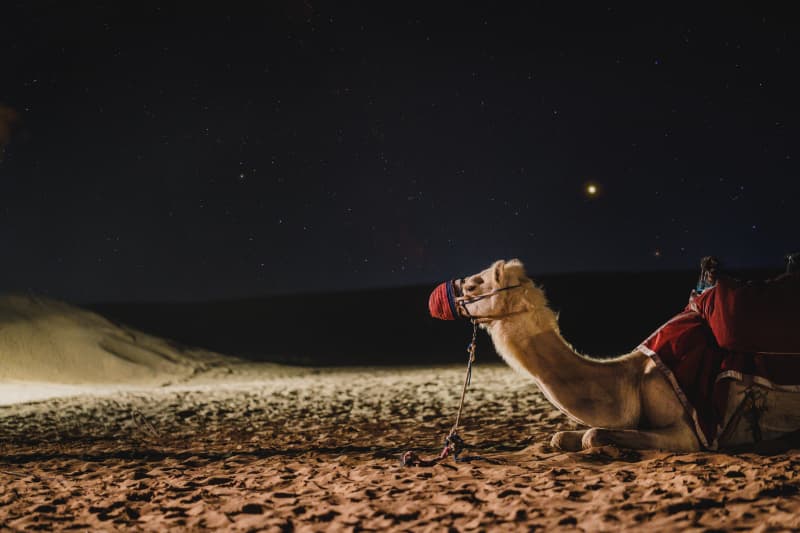
For those living in North America, the vast lands and relatively low population density of the western region offer excellent night sky conditions for stargazing. When you step out of your home, away from the city, and look up at the night sky, you'll undoubtedly be awestruck by the countless stars and feel an urge to seriously observe the heavens. But what do you need to prepare for your first stargazing experience? It's not just about an equipment list; it's about understanding the underlying logic of astronomical observation.
North America boasts many International Dark Sky Reserves certified by the International Dark Sky Association, providing diverse observation environments for astronomy enthusiasts. Newcomers who start with understanding the principles of physics—systematically preparing optical observation equipment, mastering stellar classification, understanding light pollution mechanisms, and learning correct star-finding methods—can have a stargazing experience far exceeding their expectations on their first visit. Whether it's identifying the striking red star on Orion's left shoulder or peeking at the subtle differences in the colors of stars in a star cluster through binoculars, scientific preparation can make the night sky clearer and deeper.
Optical Equipment: Why Binoculars are the Best Starting Point for Beginners
Some beginners want to buy binoculars for stargazing but are unsure which to choose. From an optical physics and observation efficiency perspective, a pair of 7×50 or 10×50 binoculars is often a more reasonable choice. The light-gathering ability of binoculars is determined by the objective lens diameter. A 50mm objective lens with 7x magnification provides an exit pupil diameter of approximately 7mm, matching the maximum opening of the human pupil in low light conditions. This means that the amount of light entering the eye achieves an optimal balance.
In contrast, if beginners directly operate high-magnification binoculars, they often struggle to locate celestial objects due to the narrow field of view (usually less than 1 degree). Furthermore, setting up, calibrating, and using a finder scope require simultaneous learning, resulting in a high learning curve and potential frustration from not being able to adjust parameters. Binoculars, on the other hand, offer a wide field of view of 3 to 5 degrees, consistent with the azimuth of the sky as seen with the naked eye, making it easier for beginners to quickly get started.
After observers become familiar with the star jump method and accumulate sufficient stargazing experience, they can then transition to Dobsonian reflecting or refracting telescopes with apertures of 150 mm or larger to fully leverage their high light-gathering capabilities to resolve low-surface-brightness celestial objects such as nebulae and galaxies.
Stellar Colors and Temperatures: Understanding the Physical Language of Spectral Classification
The colors of stars in the night sky are not only different, but also a direct reflection of their surface temperatures. This pattern can be quantified using the Harvard Spectral Classification System (OBAFGKM). The sequence is arranged in descending order of temperature: O-type stars, with temperatures exceeding 25,000 Kelvin, appear bluish-white; B-type stars, with temperatures between approximately 11,000 and 25,000 Kelvin, are bluish-white; A-type stars, such as Vega, with temperatures between approximately 7,500 and 11,000 Kelvin, are white; F-type stars, with temperatures between approximately 6,000 and 7,500 Kelvin, are yellowish-white; G-type stars, such as the Sun, with temperatures between approximately 5,000 and 6,000 Kelvin, are yellow; K-type stars, with temperatures between approximately 3,500 and 5,000 Kelvin, are orange; and M-type stars, with temperatures below 3,500 Kelvin, appear red or orange-red. This temperature-color relationship stems from Wien's shift law—the peak wavelength of blackbody radiation is inversely proportional to temperature. Low-temperature stars shift their radiation peak to the red and infrared bands, thus appearing warm to the naked eye.
In the North American night sky, Betelgeuse in Orion and Antares in Scorpius are two easily recognizable bright red stars. Both are M-type supergiants with surface temperatures of approximately 3,000 to 3,500 Kelvin, and their red color is visible to the naked eye even in light-polluted suburbs. Understanding this spectral classification system allows observers not only to predict stellar colors but also to infer their evolutionary stage and physical scale from their color.
Light Pollution and Dark Adaptation: Protecting Your Night Vision
Light pollution in modern cities is a primary challenge for stargazing. This is because artificial light sources produce sky glow that significantly increases the brightness of the background sky, reducing the contrast between stars and the sky. This makes it difficult to observe stars fainter than magnitude 6 with the naked eye in urban areas. According to the Bortle Scale, city centers are typically at magnitude 8 to 9, while ideal observation points are at magnitude 1 to 3.
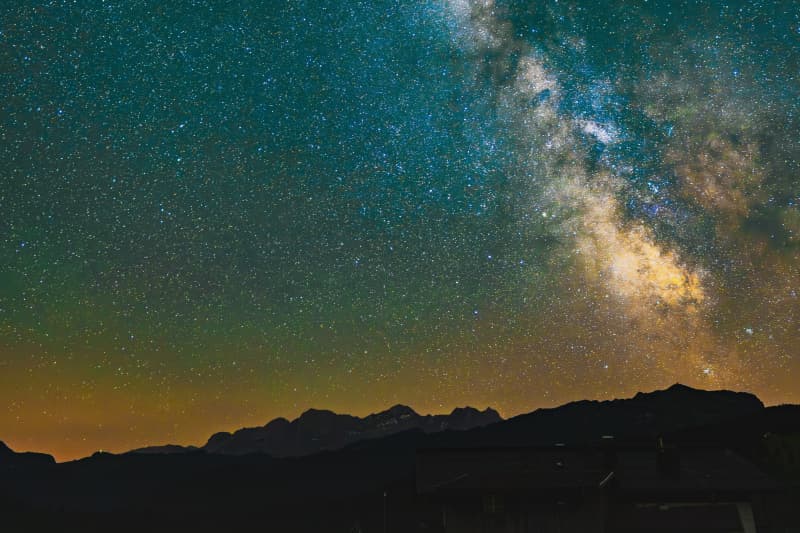
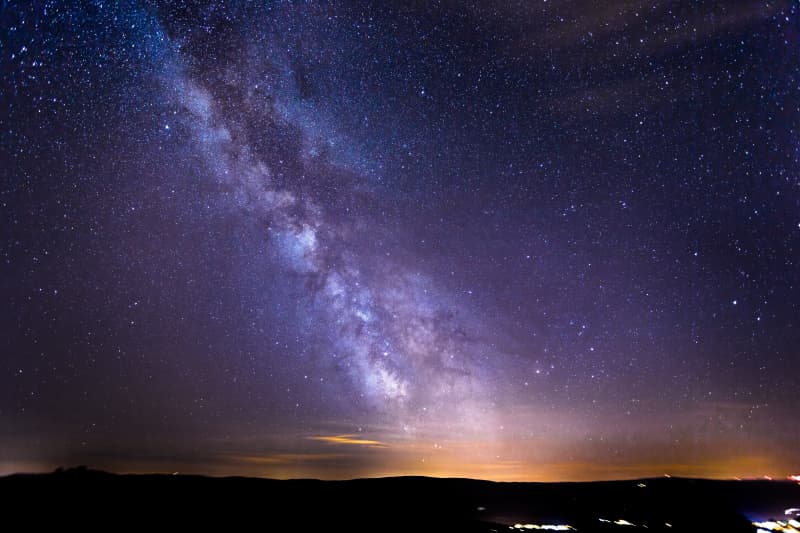
Light pollution is particularly detrimental to low-brightness objects such as the Milky Way, nebulae, and galaxies. These objects are diluted across vast areas of the sky and easily obscured by the background light. Astronomical filters can partially alleviate this problem. Broadband light pollution filters improve contrast by filtering out specific spectral lines emitted by sodium and mercury vapor lamps (such as the 589 nm sodium doublet), while narrowband nebula filters (such as OIII filters) only allow specific wavelengths emitted by ionized oxygen to pass through, enhancing the visibility of emission nebulae in extremely dark environments. However, no filter can replace the observation effect of a truly dark sky. Furthermore, the human eye's dark adaptation process takes 20 to 30 minutes, during which rhodopsin in rod cells gradually regenerates, increasing the eye's sensitivity to dim light by approximately 100,000 times. Any exposure to white light—whether it's a mobile phone screen or a regular flashlight—instantly disrupts this biochemical process. Therefore, observers must use red light flashlights with wavelengths exceeding 600 nanometers, as red light causes minimal stimulation to the photopigment in rod cells, allowing for night vision reading of star charts or adjustment of equipment.
Stargazing Techniques: From Constellation Location to Star Jump Method
For first-time stargazers, learning a systematic star-finding strategy is far more effective than blindly scanning the seemingly randomly distributed stars in the sky. The most basic star-finding tools are moving star charts or paper star charts, which display specific areas of the sky based on the observation date and time, helping stargazers establish a constellation framework. Constellations are not only mythological symbols but also natural landmarks in the modern celestial coordinate system.
Taking the North American winter sky as an example, the three bright stars in Orion's Belt (Betelgeuse, Rigel, and Betelgeuse) are excellent stepping stones for stargazing: extending southeast along the belt will locate Sirius, the brightest star in the sky; extending northwest will point to Aldebaran in Taurus. This method of using known bright stars as references and gradually jumping to faint targets is called star jumping, a core skill for deep-sky observation. For locating red stars, Betelgeuse is located on the left shoulder of Orion, and Antares is located in the heart region of Scorpius. Both occupy prominent positions in the summer and winter night skies, serving as seasonal natural compasses.
Modern astronomical apps such as Stellarium or SkySafari can overlay celestial coordinates in real time based on GPS, but beginners are advised to use them as verification tools rather than relying on them as the primary method, as spatial memory developed using paper star charts is more reliable in the narrow field of view of a telescope. Using paper star charts with a red flashlight helps maintain dark adaptation while gradually building a three-dimensional understanding of the celestial structure.
Observation Environment: Lunar Phase, Weather, and Practical Equipment Planning
Besides learning the basics of optics and star finding, preparing the environment for your first stargazing experience is equally important. The lunar phase is the most crucial time variable: the full moon is approximately 250,000 times brighter than Sirius, the brightest star, and its scattered light is enough to make the Milky Way invisible to the naked eye. Therefore, the days before and after the new moon are the best window for observing deep-sky objects.
Regarding weather, "transparency" refers to the degree to which the atmosphere extincts starlight, affected by humidity and aerosols; while "seeing" describes the effect of atmospheric turbulence on star image jitter. At high magnification, poor seeing can cause stars to expand into blurry patches of light. North American observers can use cloud cover, dew point, and wind speed from weather forecasts to judge the conditions for the night.
In terms of practical equipment, besides binoculars and a red-light flashlight, an adjustable observation chair or reclining chair can significantly reduce neck fatigue from prolonged periods of looking up. A notebook paired with a red-light headlamp makes it easy to draw star charts or record observation notes in low-light conditions. Furthermore, even on summer nights, radiative cooling can cause a sharp drop in temperature, especially in dry high-altitude or desert regions; therefore, multiple layers of warm clothing and hand warmers should be on the essential list. If visiting International Dark-Sky Association-certified Dark-Sky Parks, such as Natural Bridges National Monument in Utah or Cherry Springs State Park in Pennsylvania, these locations typically have a Porter rating of 2 or lower, providing beginners with observation conditions close to the theoretical limits.
In summary, a first-time stargazing trip requires not only equipment but also a complete understanding of astronomy. From choosing binoculars to understand the physical balance between light gathering and magnification, to mastering the OBAFGKM spectral classification to interpret stellar colors, to developing a scientific awareness of light pollution and dark adaptation, and finally navigating the night sky autonomously using star jumps and moving star charts—this knowledge base will determine whether you can upgrade from "looking up at the stars" to "systematic observation." The North American night sky boasts magnificent red stars like Betelgeuse and Antares as natural teaching materials; with proper preparation, your first observation can be enough to embark on a lifelong journey of cosmic exploration.